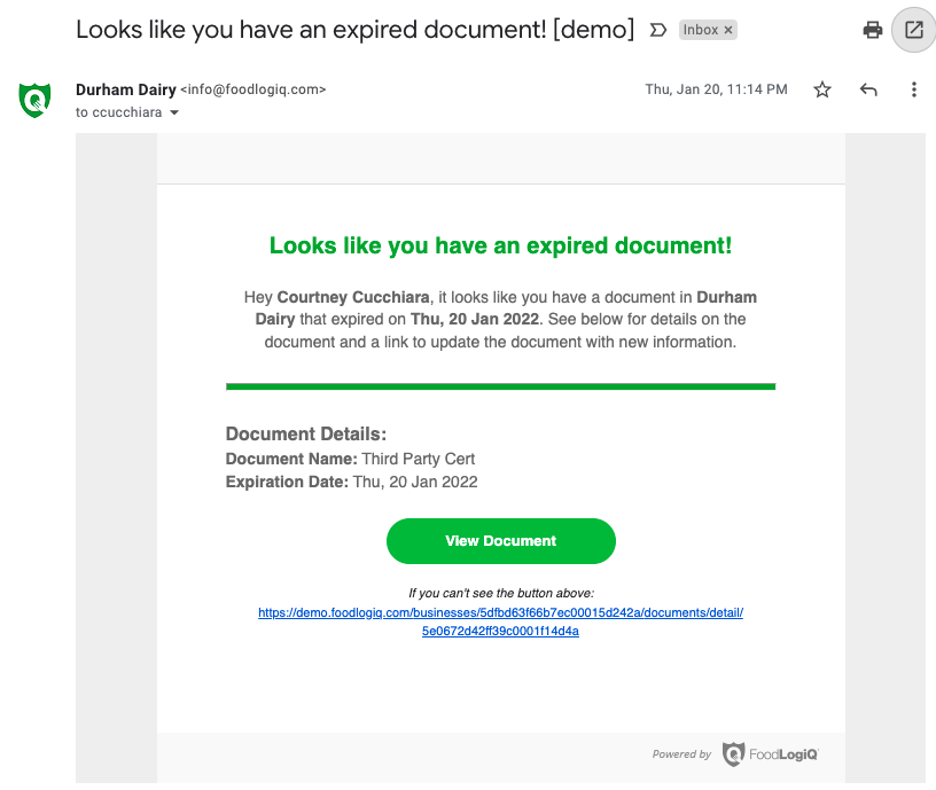
As a supplier, when documents you've uploaded to FoodLogiQ Connect are approaching their expiration date, users with the role of "Administrator" will be alerted via email notification.
These system notifications are sent 30 days prior to expiration and on the date the document expires.
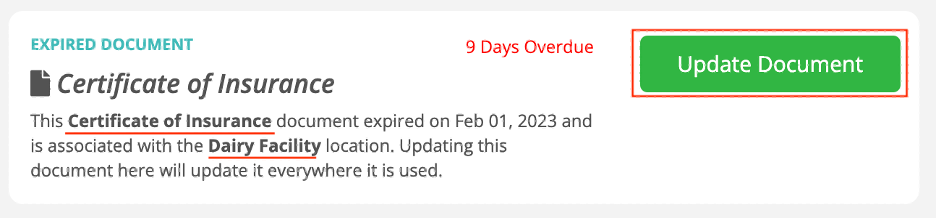
Additionally, 30 days prior to expiration, an Expired Document To-do Card will be generated on your Dashboard for any Community you've shared it with. An expiring document to-do displays the document type and information about which locations and/or products the document supports, providing additional context for users. To complete an expiring document requirement to-do, click Update Document to update the information provided and upload the current version of the document.
Expiring document to-do's are included in the Weekly Supplier To-do Digest, sent weekly to Community Contacts.
Steps to Update Expired Documents from the Document Detail Page
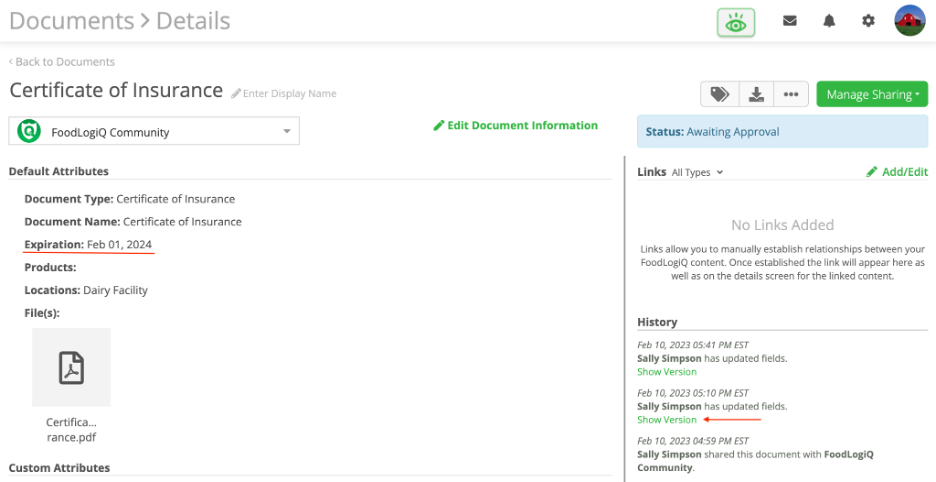
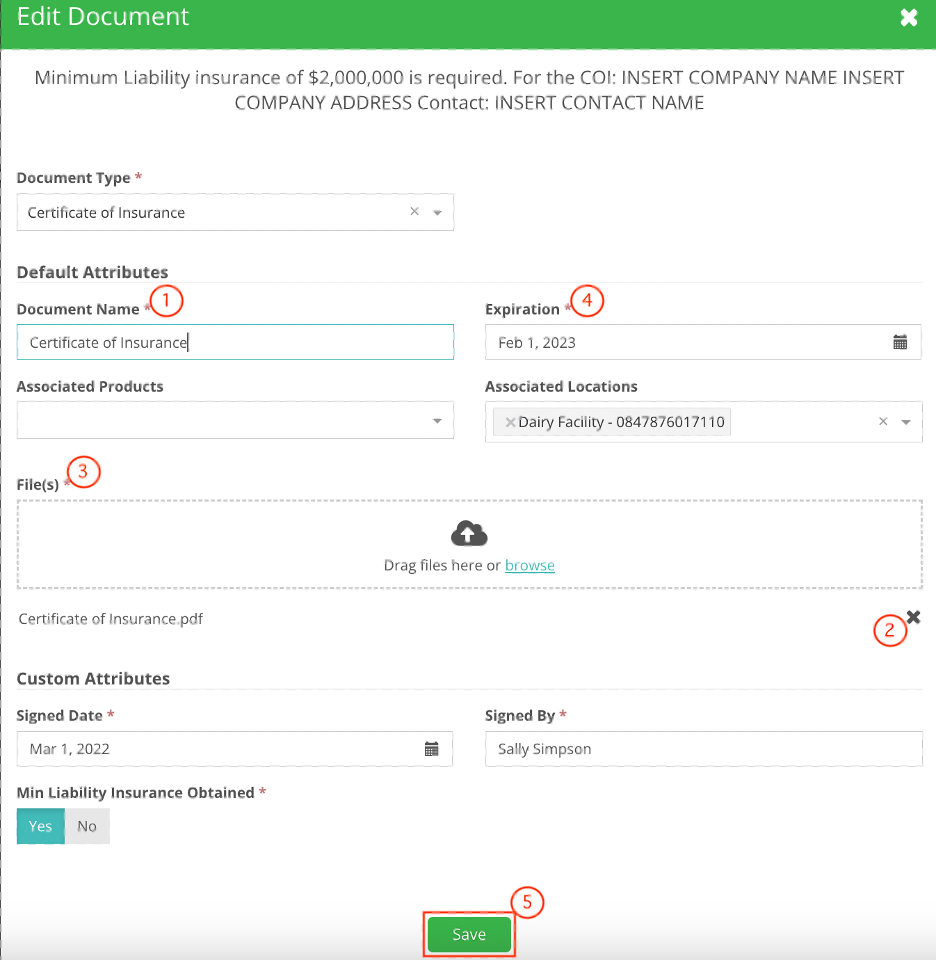
If you've clicked on the link in your notification email, you will be redirected to the document detail page to make your updates. To update the document, click Edit Document Information.
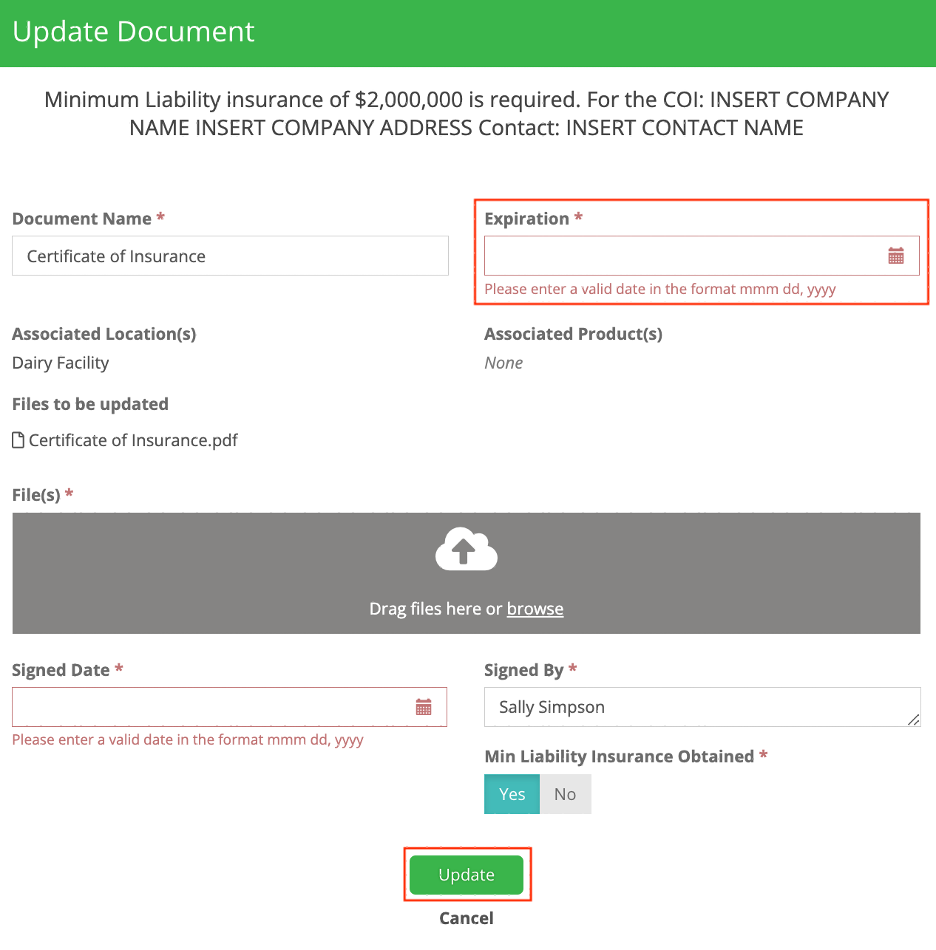
- Edit the document name if needed.
- Remove old files by selecting the "X" next to each file. (Please note these documents will not be deleted from the system, they will still be available for viewing within Version History; See screenshot below to access previous version(s).
- Drag current non-expired document(s) under "File(s)" or click "browse" to locate attachment(s) on your computer to attach new file(s).
- Update expiration date to reflect the new attachment(s).
- Once you've updated all fields to support your new file attachment(s), click Save.
Steps to View Previous Document Versions
Previous versions of documents can be viewed by clicking Show Version within the History section on the right side of the page.
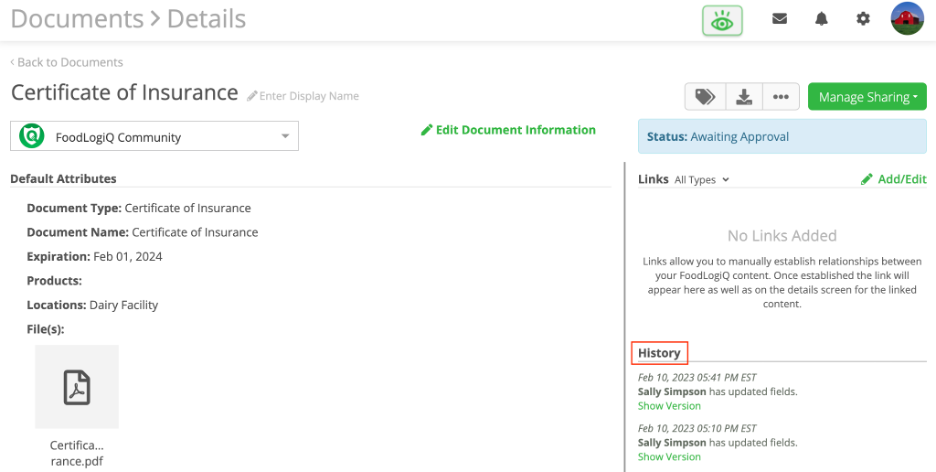
Example - Previous Version
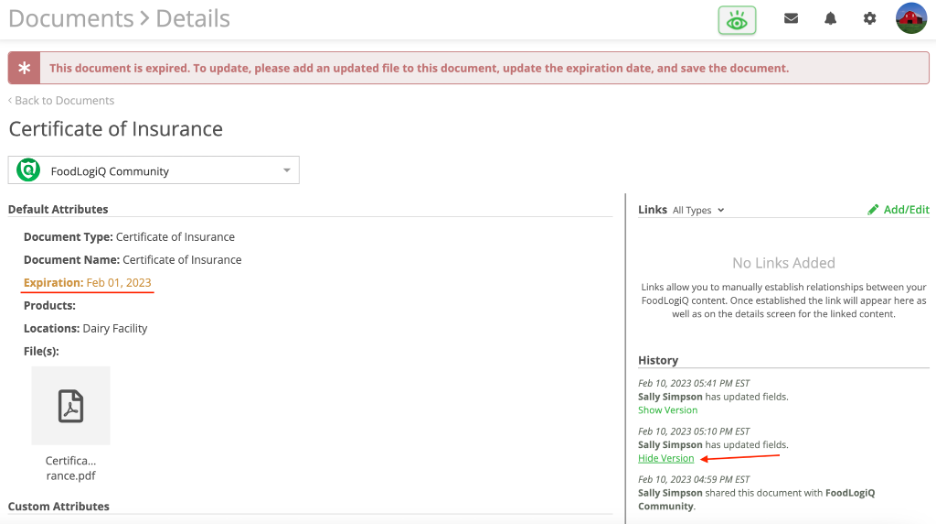
Example - Current Version