After you have completed your community setup and are preparing to invite your supply chain members to join FoodLogiQ Connect, we highly recommend that you preview the onboarding experience from both the community owner and community member perspective.
How-to Complete
- Invite a test supplier by visiting the Suppliers page, click on the
 button
 - Fill out the form on the left, including a test supplier name, your email address (preferably not the email address you currently use to access your account), and assign to an appropriate product/location group Optional: modify the message text that will be sent in the invitation email.
- Accept the invitation - click the “Accept Invite” button, that will appear in the email notification you should receive momentarily.
- Review Welcome Message
- Enter Business Information (consider uploading a logo to represent your business)
- Complete Your Workflow Steps
- Complete your onboarding workflow and be sure to mark steps as complete by clicking the checkmark on each step.
Review Welcome Message
Once you have accepted the invitation and set your password, you will be presented with the welcome message before you enter FoodLogiQ Connect. Click “Get Started” to proceed.
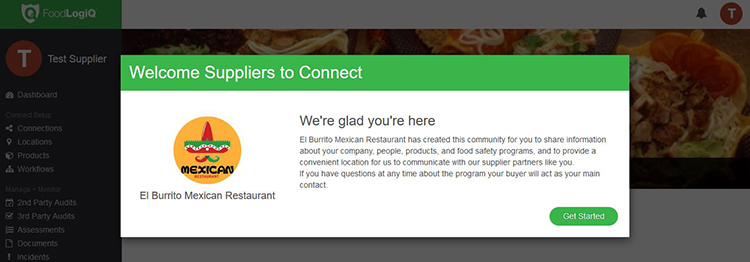
Note: You can modify the text that appears in the header and body of this Welcome Message from within your community owner account. Visit the Supplier Onboarding Dashboard tab and click the “Edit Welcome Message” button.
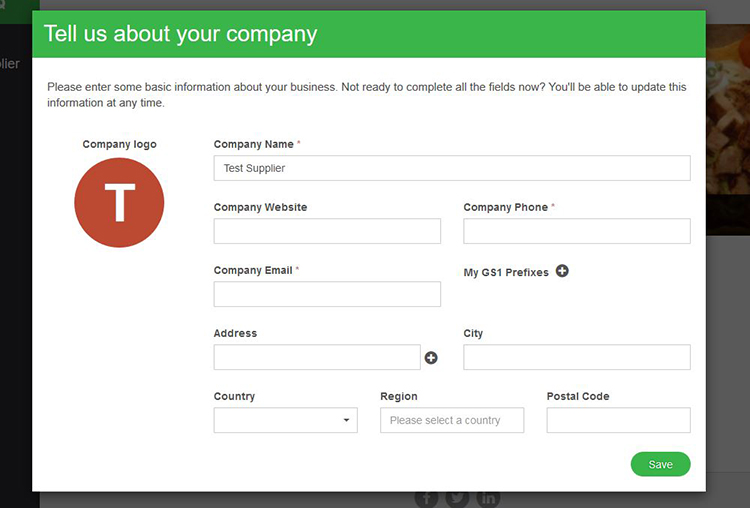
Complete Basic Information
Next, the supplier will be asked to provide some basic information about their business, including address, phone number and company email address. You can also upload a company logo. Once completed, click “Save” to continue.
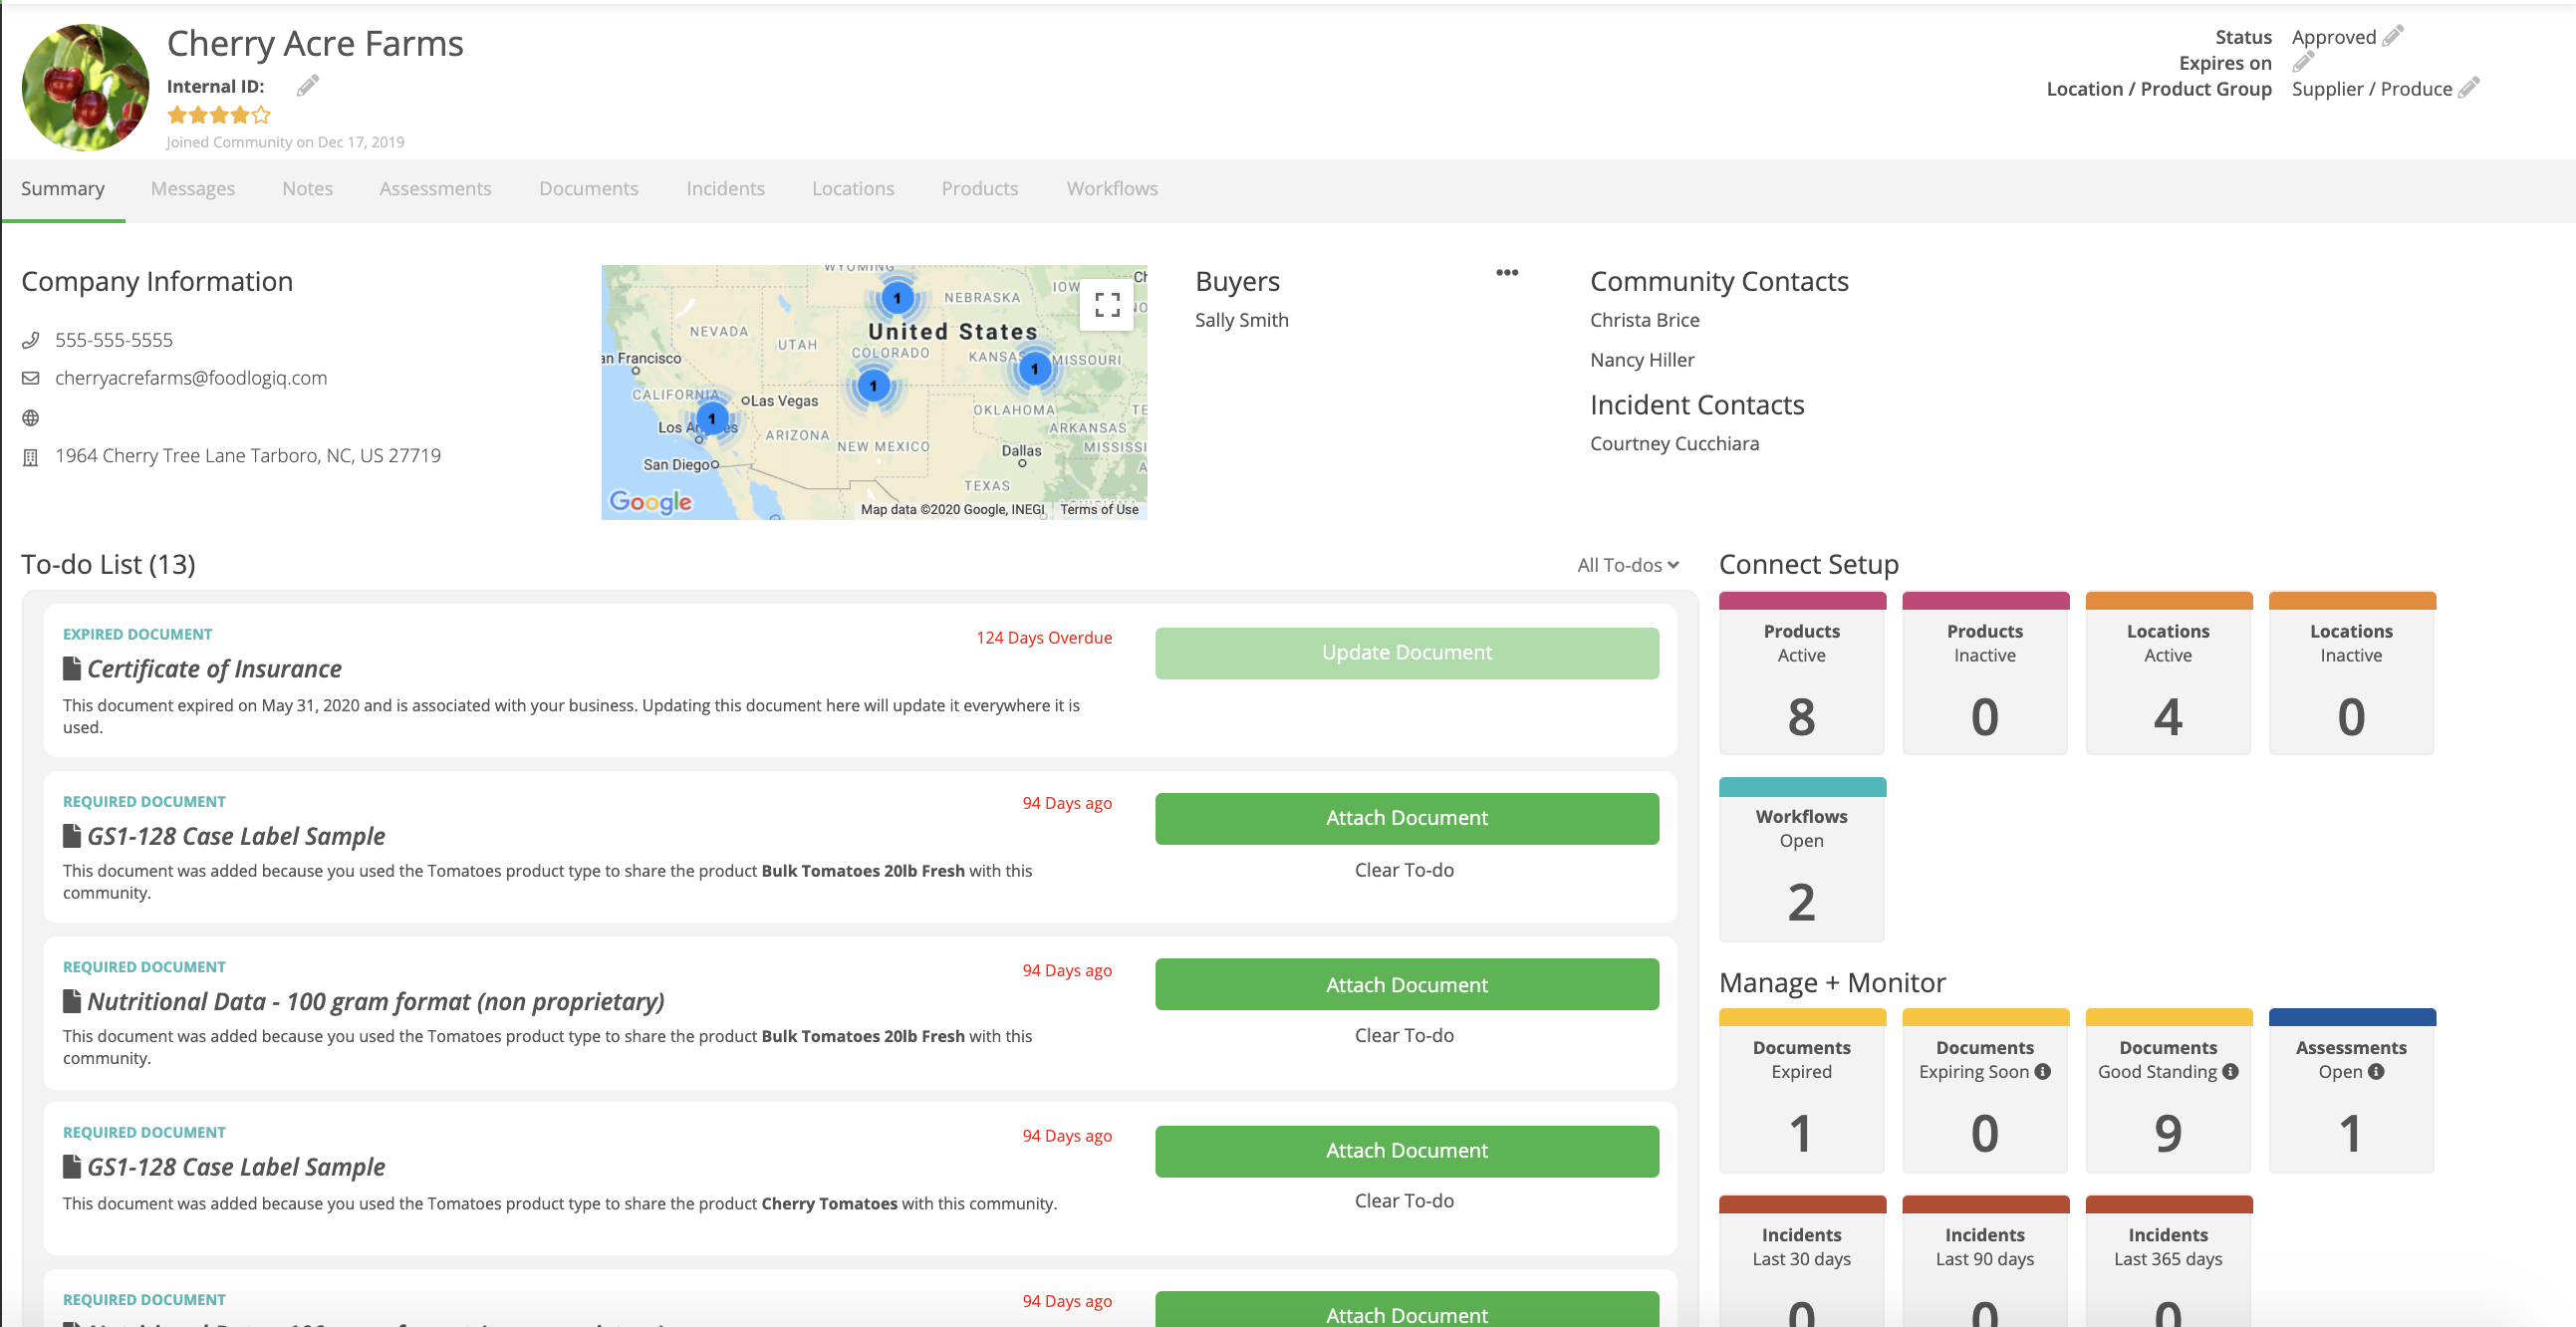
Note: This information will be displayed to you within their supplier detail page in your community owner account. You will see any to-dos that the supplier needs to complete on the summary page. See the example below.
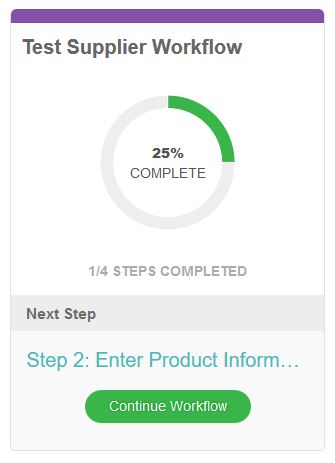
Complete Supplier Onboarding Workflow
Click the “Get Started” button within the workflow dashboard widget to begin.
Follow the instructions on the screen to learn how to interact with different features within the workflow.
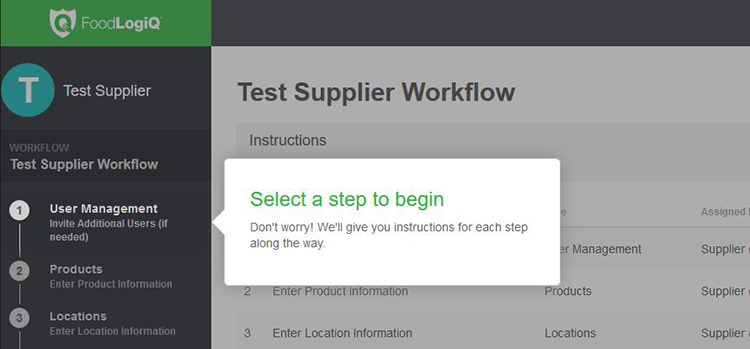
As you complete each step within the workflow, review the instructions on the bottom of the workflow wizard and make note of which edits (if any) you’d like to make. You can update these instructions within your workflow template in your community owner account.
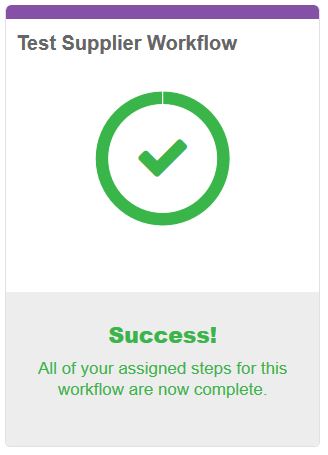
Please note: It is important to click the check marks on the bottom right hand side of the workflow wizard to indicate completion of a step. This helps you as Community Owner keep track of your supplier’s progress. It also allows suppliers to see their percent completion update on the onboarding workflow widget. Once you have completed all assigned steps, you will see a Success! Message appear on your dashboard (see example below).
Once you’ve experienced the supplier’s perspective of the onboarding process, we suggest that you then log back into your community owner account for your business to see it from your perspective.