Administrators can limit the types of incidents that a user can view and/or edit. When limiting a user's access be mindful of the roles you've configured to be able to edit and be notified at each incident flow step. To modify permission, you can either create a custom user role or edit an already existing role. For more details on creating custom roles, see the article Creating Custom Roles.
How to Configure Incident Type Permissions
-
Once you login to Connect, click on cogwheel
 in the top right corner. Select "User Management" within the Settings menu.
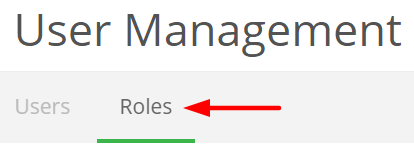
- Click the Roles tab.
-
Next, either select the
 next to an existing role or select the
  button.
 - Incident permissions are located within the Quality Management Tools permission set. By default each user with this setting checked with view/edit permissions has access to all incident types.
- Click into the "All Incident Types" box to view available types. Select all that apply to this user role. Once complete, click "Save" at the bottom of the page. Note: You also have the ability to restrict visible history, visit our Limiting Historical Views article for further details.
Details for Incident Type Permissions
Navigate to the User Management Page, then select the Roles tab.
Go to the "Incidents of the following types" permission set and click into the "All Incident Types" box to view the available types to choose from.
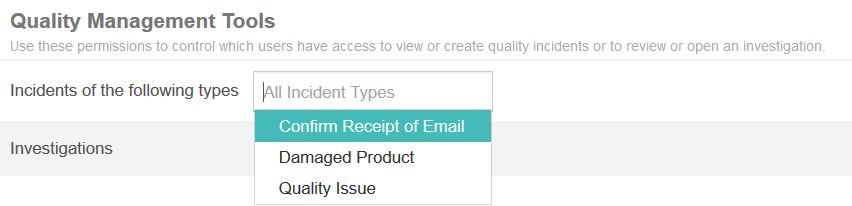
Select all that apply. Click Save.

Want to learn more about Incident Management in Manage + Monitor?
Check out these quick videos or submit a request below.